
Sunsets create some of the most stunning photography you can imagine with vivid colours that look like they have been Photoshopped but have actually come straight out of the camera. Getting the most out of your sunset shoot isn't always so straight forward. Here are 8 tips for stunning sunset photography that will help you to capture the aura of the evening.
Find out when the sun will set and get there at least half an hour before hand as it’s often in the lead up to, and the time after the sun disappears below the horizon that the real magic happens. Keep an eye on the weather too. The best sunsets seem to happen on the evening after a rainy day. There are a variety of different types of sunsets that produce a range of different types of lights and patterns in the sky. Don’t just go for clear days for these shots – while they can produce some wonderful colors it’s usually the times where there is cloud around that the real action happens! Also be aware of days when there is dust or smoke in the air as they can produce amazing results also.
Consider what equipment you might need. Include a tripod, lenses that will give you a range of focal lengths, extra batteries etc. If you’re shooting at longer shutters speeds and with longer focal lengths then a tripod or some other way of ensuring your camera is completely still is essential.
Stay longer. The sky will often light up with colour again about 25 minutes after the sun dips below the horizon. Most photographers miss this second sunset, and it’s more beautiful than the first most of the time!
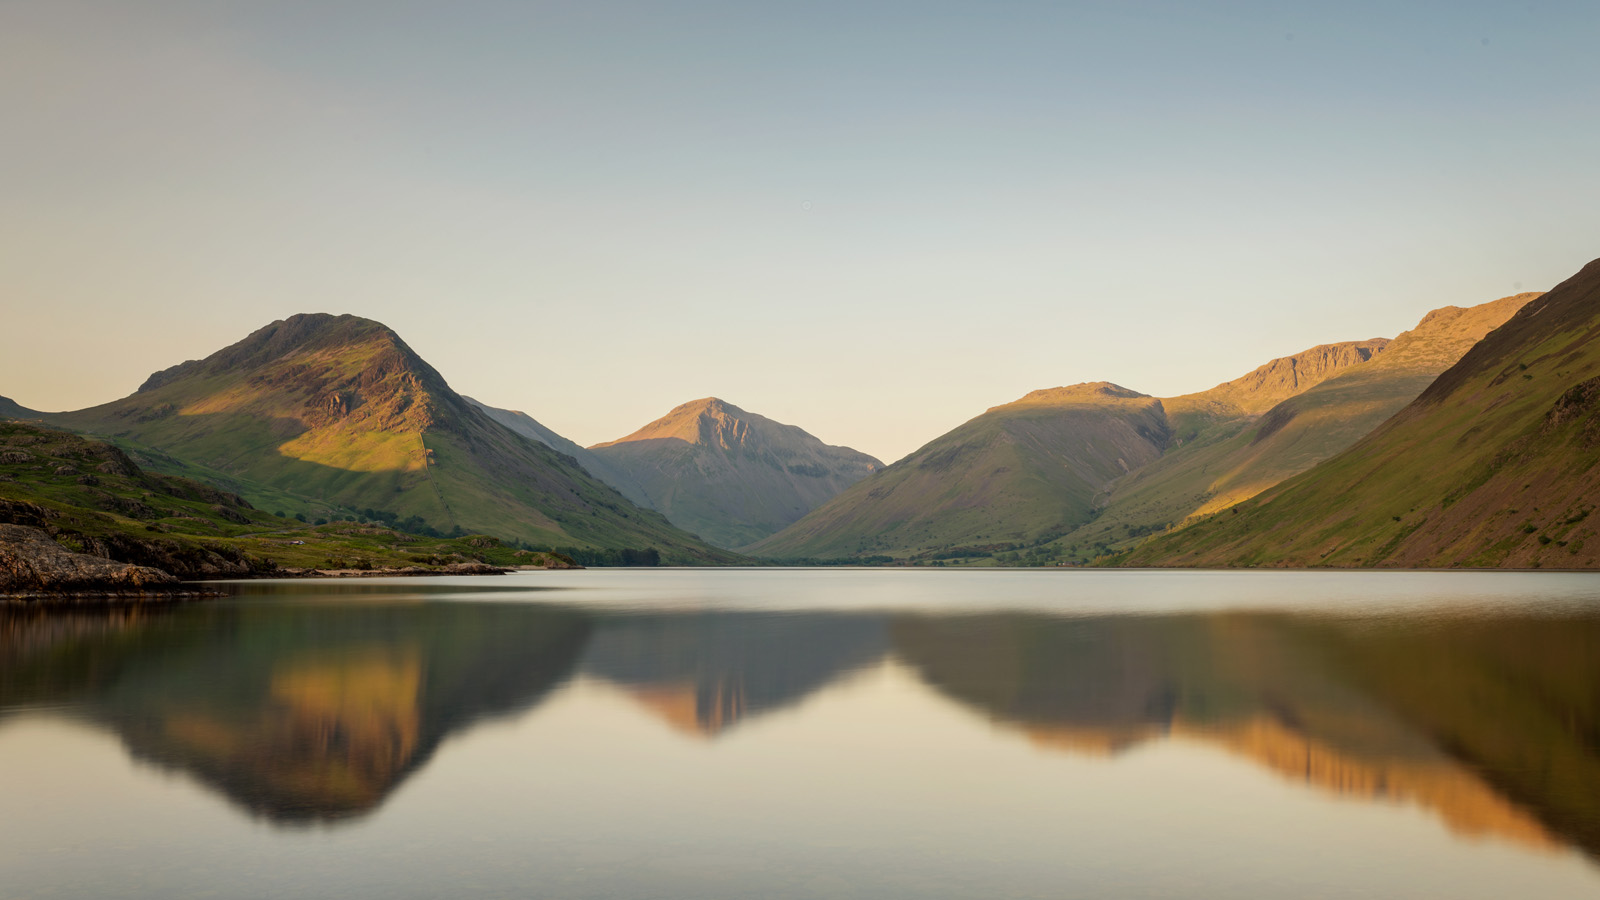
When choose a location, look for objects which are reflecting the sunset colors. Perhaps it is a building behind you or a still body of water. With the reflection, you can incorporate it into the larger landscape or just make it a photo of its own.
Shoot in aperture priority with exposure compensation while the sun is still in the sky, and then switch to manual once the sun dips below the horizon. This will allow you to have the convenience of shooting in aperture priority as the light levels change quickly before sunset, and then you can switch to manual mode to get a more precise exposure after the sun goes down. In low light settings, the exposure meter on your camera will often be inaccurate, so manual mode after sunset is the best option.
Avoid using auto white balance. Change the white balance to “shade” and you can get beautiful golden tones out of an otherwise lackluster sunset.
Don’t use filters. Yes, that includes. the polarizer. Polarizers will NOT help saturate the colors in a sunset. Also, UV filters are discouraged all of the time, but they should be outright forbidden when shooting sunsets. The extra flat piece of glass–which is often not coated will cut the saturation (richness of colors) and contrast of your sunset photography. But do use a graduated neutral density filter, it will darken the sky and even out the scene to allow the camera to get enough light to correctly expose the landscape.
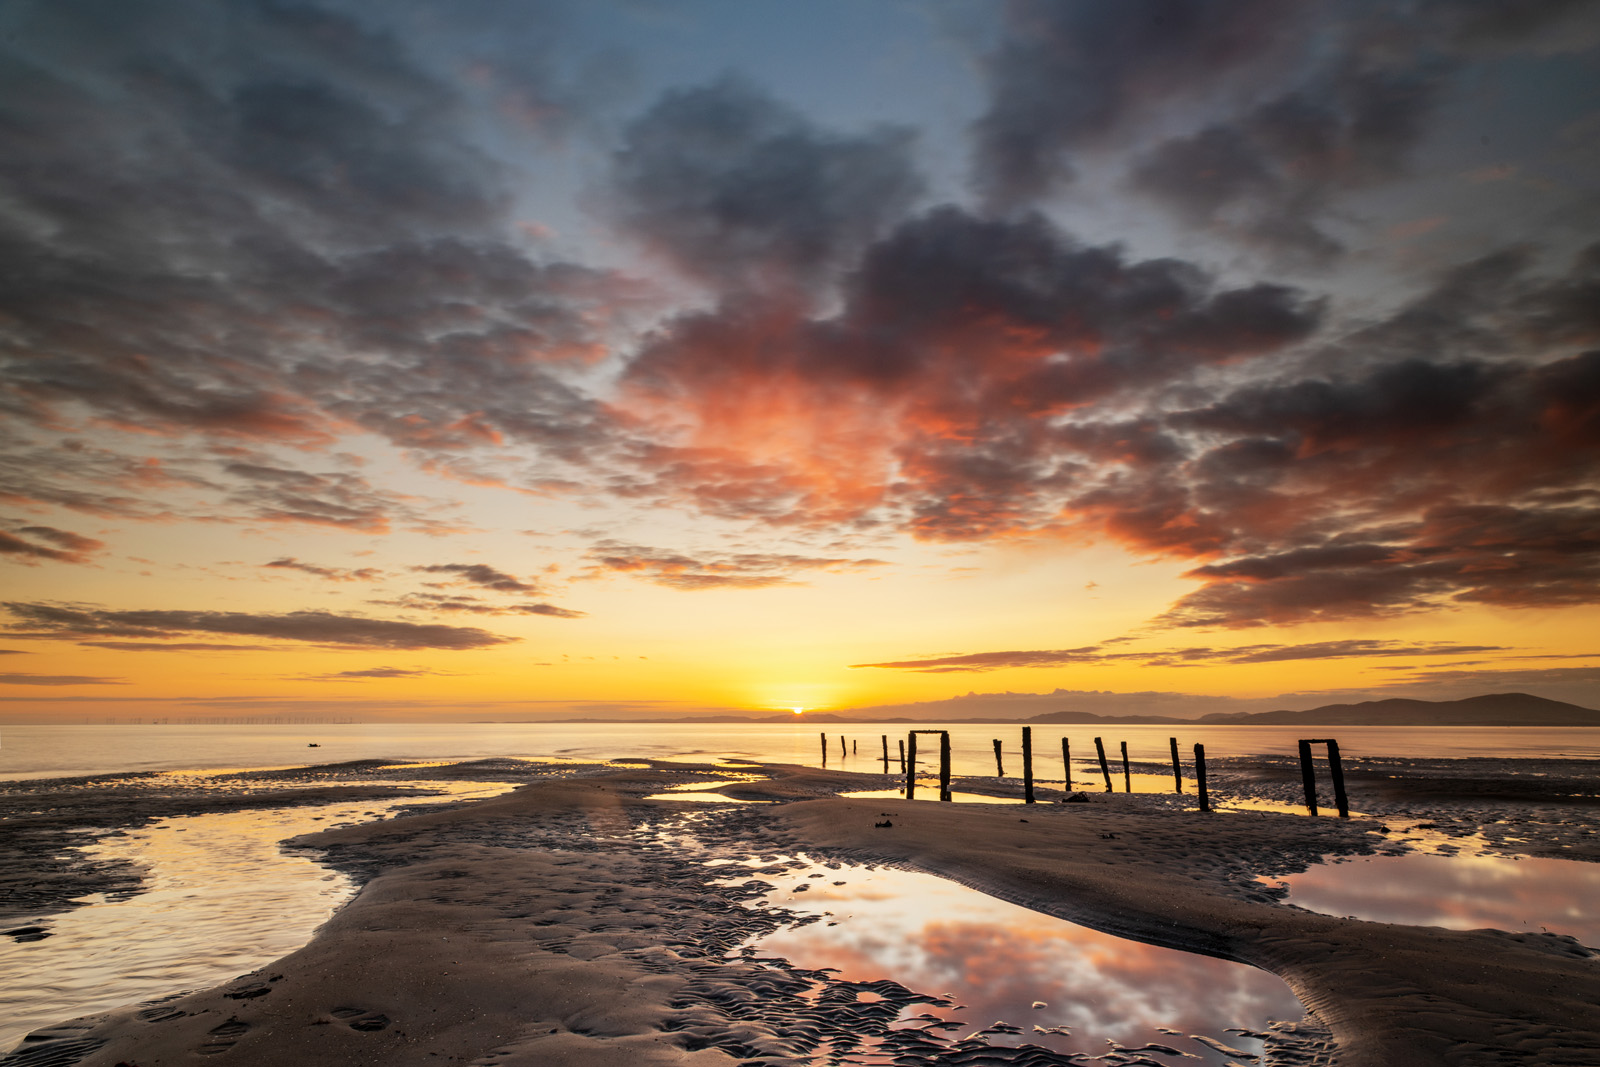
allonby oyster beds
I know you’ve heard it before, but sunsets are a time where this is especially important. There is a wealth of delicate light information in a sunset that is simply thrown in the trash if you shoot JPEG.
If you want the sun to look large in the sunset, use a telephoto lens. If you want the sun to look small in the scene, use a wide-angle lens. Shoot at a variety of focal lengths – wide angle can create sweeping landscape shots but if you want the sun itself to be a feature of the shot you’ll want to be able to zoom right in.
Keep in mind that the sun is just half a degree across so when you shoot with a wide lens it will only be taking up a reasonably small part of the photo. If you want it to be a feature of your shot you’ll need to zoom in on it using anything from a 200mm lens upwards. This will increase your need for a tripod!
Remember the rule of thirds when photographing sunsets. While you can always break the rule it’s often a good idea to place elements like the horizon, sun, silhouettes etc off centre.
The ideal conditions are a partly cloudy day with spotty clouds. When the clouds are just a flat gray sheet of cloud it will not light up as much. Wait for patchy whispy clouds.
Before the sun actually sets, stop down your lens’s aperture to a high value such as f/20. This will make the rays of the sun much clearer. It will give the sun a starburst effect.
This is the most important tip for stunning photographs of sunsets. Slightly underexposing the sunset will make the colors look more rich and defined. The entire scene will become more dramatic. You can underexpose by using manual mode and selecting a fast shutter speed, or you can shoot in aperture priority and use exposure compensation.
Find the foreground first. The best recipe for a good sunset composition is having an object of interest in the foreground. It could be a pond, a pier, or whatever else. Just find something interesting to put in the foreground to add depth to the scene.
As with all photographs, sunsets need a point of interest and one of the other ways to add this to your picture is to incorporate a Silhouette into the shot. This could be something large like a mountain range, something that is part of the environment like a palm tree or a pier or could even be a person. The great things about Silhouettes is that they add mood and context to a sunset or sunrise shot. I’ll write more on silhouettes in a future article. Just speed up your shutter speed and you’ll have a silhouette. The key to taking a good silhouette shot is to find a subject with fine details that will let the sun shine through it and that has a recognizable shape. If you have something too big as the silhouette, it takes away from the picture since it is just a large area of blackness.
Watch out for birds! Including a few flying birds in the sky can really add interest to a landscape.
When the sun is still up, the bright light in front of you may make your LCD appear darker than it really is. When it is darker at this time, you might think your images are brighter than they really are. Because of the varying light conditions that occur when shooting sunsets, it is best to trust the histogram rather than the LCD. Don’t delete until you can view the images on your computer.
No mistake you make in shooting a sunset will be as obvious as an uneven horizon line. Use the bubble level on your ballhead or the electronic level on some newer DSLRs to make sure the horizon is straight.
Make sure to clean your lens and sensor! Dust spots will be obvious when viewed against the bright sky when you’re stopped down to high aperture values.
Finding times for a sunset is relatively easy, most weather sites and apps will give you the exact time for your location. There are also some dedicated sunset apps that will provide more details about the sunset.
The Photographer's Ephemeris - If you are looking to get the sun at a particular angle or position for your shot then TPE's augmented compass will show you the angle the sun will be on a particular day.


Carmen Norman Photography
Rakefoot
North Row
Bassenthwaite CA12 4RJ
Tel: 07921 953372
Email: carmen@carmennorman.co.uk


omega seamaster planet ocean models by year watchuseek forum omega replica breitling crown replacement corum bubble limited edition replica watch omega seamaster bracelet replica panerai flyback 1950 swiss replica watches tag heuer grand carrera mercedes benz sls the woman 2011 cast replica watches uk breitling bezel screws kendal watch winder settings replica watch