
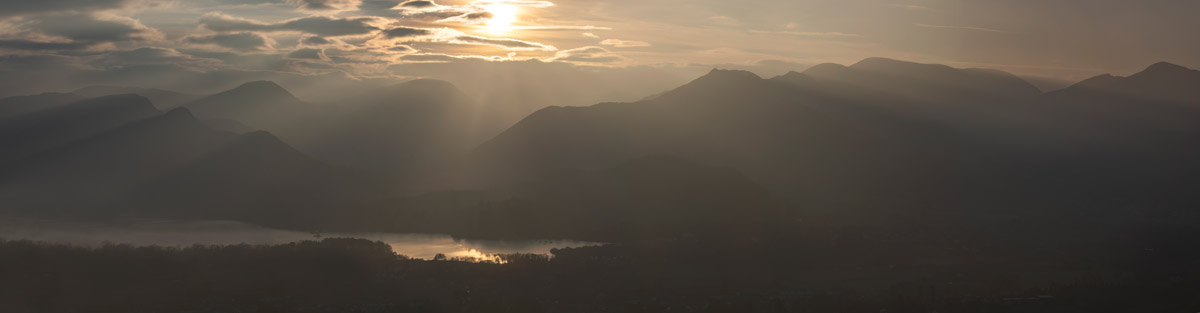
What is a panorama? A panoramic image is a technique of photography, using specialized equipment or software, that captures images with horizontally elongated fields of view. It is sometimes known as wide format photography. This photography gives a wide perspective to the scene, accentuating the effect of vastness and capturing it in an image.

I once saw a panoramic picture on a wall. It had been created with a film camera, there were around 12 images. Each image was printed in a 5x7 and then all 12 were just stuck together to create a long image. The main issue was of course you could see the joins, but each picture had a different exposure, so the sky was a different colour in each frame. With digital photography this is obviously not the way to create a panorama.
But why create a panoramic image? When you view a spectacular landscape and you want to capture that image, a wide-angle lens just might not give you quite what you envisioned.
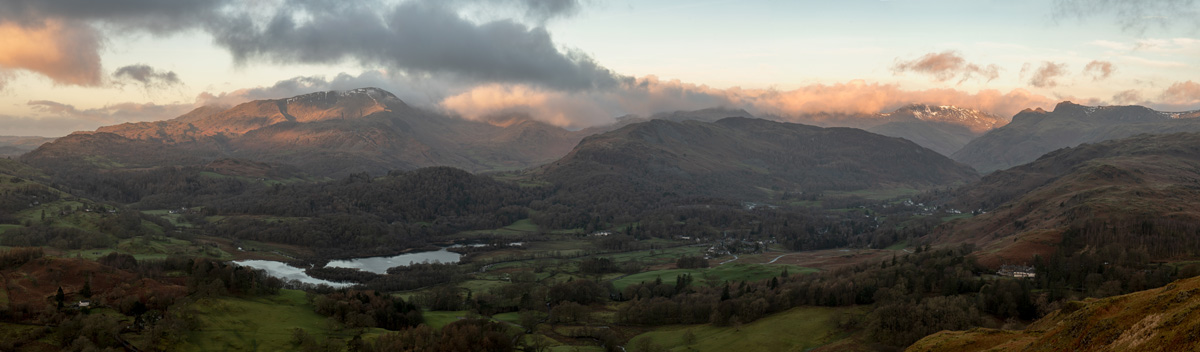
Wide-angle lenses can give you beautiful photos that capture more of a scene than you can get with standard lenses, but sometimes they can fall short of producing exactly what you’re looking for. A wide-angle landscape photo causes everything to get smaller, but a panoramic image can condense the view while still retaining the sight line. A panorama will also be a bigger file and will have a lot more detail.
But now we have digital cameras and creating a seamless panorama has been made very straightforward. This blog, I give my tips on how to create successful and stunning panoramic images.
It is important to keep your camera level when you take the images for the panorama. Ideally use a tripod and ensure the tripod is level. Pan the camera round to ensure the image doesn’t drop as you swipe from left to right. If the scene drops, when it comes to stitching the images you will lose too much of the image from either side. If you level your tripod and shoot in the proper degrees you’ll get very predictable results and accurate stitches.
Avoid using a lens that is too wide. Wide angle lenses have a perspective distortion that can make them difficult to successfully stitch. 35mm or 50mm are great options, but you can of course go longer to really pick up the details. You will need to take more images to get the whole scene in with the longer lenses, so bear in mind that the file size of the combined images could be huge.
For a horizontal panorama, try using your camera in portrait orientation to get more height in each shot, just take a few more images to include the full width of the scene.
Avoid using filters, especially a polariser. These will affect the light in the image and to get a true representation of your scene you would need to accurately adjust them for each picture. This reduces the speed at which you take the set of images, which in turn means that clouds or other moving things would have moved too much between shots, making stitching very difficult.
Since a panorama is shot over a large field of view where lighting conditions can be different, it is really important to shoot in Manual mode; Focus, ISO and Aperture should be set to manual, you want full control of the camera and the metering of each image taken. This will ensure all the photographs shot have an exact exposure value and focus throughout all the images. Shooting in Automatic, Program or Semi-Automatic modes (like Shutter priority or Aperture priority) will result in different exposure values for each photograph, which in turn may cause the final merged panorama to have varied exposure and colour casts in different parts of the scene.
When choosing your shutter speed, aim to shoot slightly underexposed. It’s the best way to ensure you’re getting everything in the scene with the one exposure level; darks can be pulled up more efficiently than blown-out whites can be recovered
You may be taking your panorama when you are on a day out shooting. A great tip to help you identify the sequence of panorama images is to take a picture of your hand before the first image of your panorama. Take all your images for the panorama, then finish with another picture of your hand. When you view your images or import them to your computer, you will then easily see which images are part of the panorama.
Overlapping is one of the important areas in creating a panoramic image. Not enough overlap can ruin an attempt at the grandest of wide angle shots. So shoot more than you need, aim for an overlap of approximately 30%. It is better to have too many images than gaps in your picture.
Work quickly, without rushing. Movement in the scene can ruin what would otherwise be a great shot. Clouds move and shadows and light change, so if you take 5 minutes to create you panorama, you will possibly have to deal with odd lighting issues and ghost-clouds in your final composition.
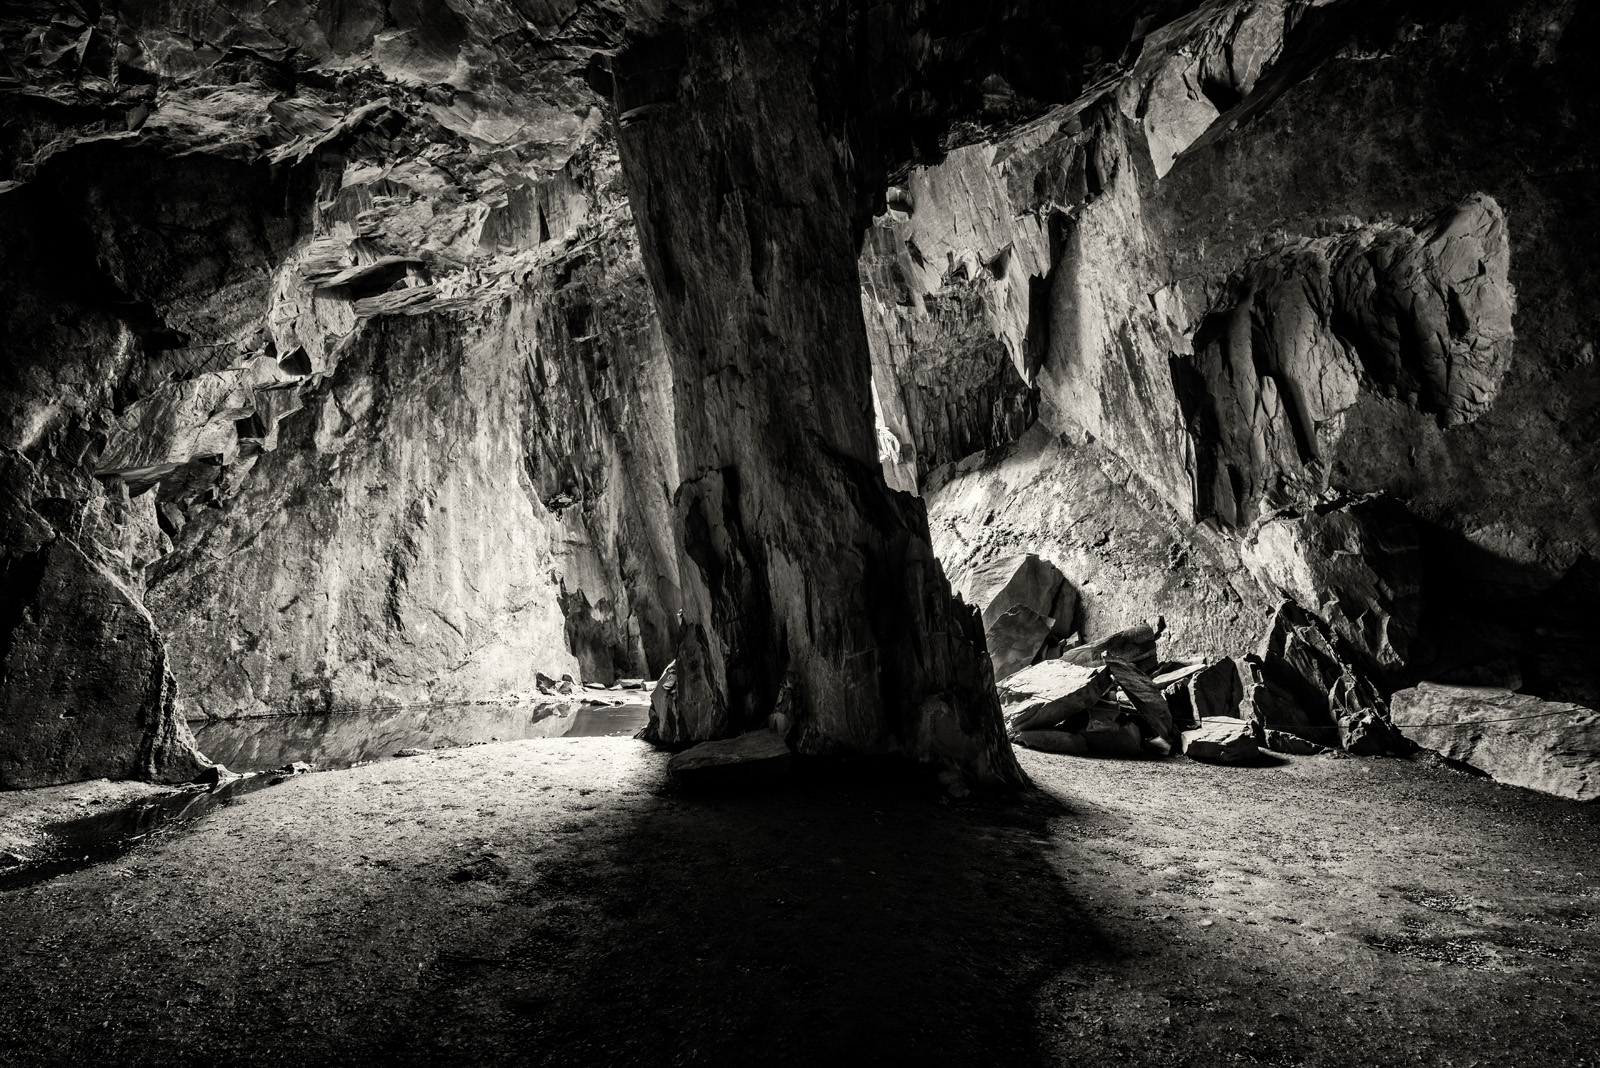
The same principles apply to vertical panoramas, i.e. tall waterfalls or buildings. It may help to turn the camera on its side or you may find keeping the camera in a horizontal orientation works. Experiment a little with buildings and waterfalls and then start looking for other verticals you can shoot.
Use your camera in landscape orientation to capture as many images as possible as you move down the waterfall or building. This will give you the best and most detailed results in the final image.
Use Lightroom or Raw to make any basic adjustments to your images, ie shadows, highlights, white balance, exposure etc.
There are a number of different programs that stitch your images to create your panorama. Photoshop and Lightroom being very popular options. The steps below will guide you through creating a panorama in Photoshop.
Depending on the number and size of the photographs, it may take a while for Adobe Photoshop to stitch together the images.
After the stitching process is completed you will find a roughly shaped panorama (with a few redundant spaces).

You can then do one of the following…
Make your final adjustments to the image (curves, levels, masks, luminosity).

Carmen Norman Photography
Rakefoot
North Row
Bassenthwaite CA12 4RJ
Tel: 07921 953372
Email: carmen@carmennorman.co.uk


omega seamaster planet ocean models by year watchuseek forum omega replica breitling crown replacement corum bubble limited edition replica watch omega seamaster bracelet replica panerai flyback 1950 swiss replica watches tag heuer grand carrera mercedes benz sls the woman 2011 cast replica watches uk breitling bezel screws kendal watch winder settings replica watch